Homemade applewood smoked bacon is easy to make with simple ingredients and techniques.
You have to wonder who thought it was a good idea to take a chunk of pork belly, rub it with sugar, salt and spices and, after allowing it to rest for a few days decided it needed a nice layer of smoke with a few hours spent in the smoker.

It has been an interesting process of learning and research since deciding to make bacon at home. It was spurred by a recent visit with some of our oldest friends out at their farm. They have been raising pigs for a while now and after spending time out at their place it brought back many memories of when we had pigs of our own.
Over the years we had both domestic pigs, and we also had a large herd of wild boar. We would have pig roasts of wild boar that would turn into weekend long events! And it was those events from which my passion for BBQ began.
After much discussion it was decided that we would buy a pig to butcher once they grow to a good-sized weight.
And with pork on our mind our thoughts naturally turned to bacon.
Many things have graced the racks of the smoker, but we have yet to make bacon. So, with that in mind the research began. Any new smoking adventure always requires some research. in some cases, you are working with expensive cuts of meat and while trail and error is a good way to learn, it is always a good idea to do some research to find a starting point.
Making Bacon Takes Time
The first thing you need to find to make bacon is curing salt. The second thing you will need is time because as we quickly learnt it takes time to make bacon. It is easy to make, but after a few batches in there are step that definitely affect the final product. Taking your time is imperative to a superior end result. Do not rush, rushing will only leave you disappointed. The goal here is bacon, not seasoned side pork.
Curing salt should not be hard to find. It is available in stores that carry wood chips, smokers and BBQ products. We could not find just curing salt locally, but we did find a bacon cure kit which has a mixture of curing salt and maple sugar. If you cannot find that specific kit there are jerky making sets available that contain the curing salt required to make bacon. You can also search for online sources if you have trouble finding it locally.
The pork belly is available in the meat section where I shop. If it is not on the shelf just ask your butcher. Be sure to get it with the rind on.

The list of ingredients is short. You will also need some large resealable bags.
pork belly
cure – 2 tablespoons per pound
brown sugar – 2 tablespoons per pound
Applewood Smoked Bacon
Place the pork belly on a cookie sheet with an edge. (this is purely for easy clean up) Rub the pork belly on all sides with the cure. Sprinkle with a few tablespoons of brown sugar and rub all over the pork. Place each piece of pork belly into individual bags, removing as much air as possible and seal. Place in the fridge.
Now the next part depends on the thickness of the pork belly. In doing the research for this we discovered variations of how many days you want to brine the pork bellies for. The idea is the thicker the cut the longer the brine time.
For the first batch the pork was an inch thick. We brined it for 2 days, flipping the pork over every 12 hours. We did a short brine as the pork was quite thin and we were concerned that the bacon may end up being too salty. The second batch was much thicker at close to 2 inches. We brined those for two days, flipping the pork every 12 hours.
At the end of the entire smoking process, we found that the second batch did NOT brine long enough. It definitely should have been left for another 2 days a least. It was good but there was definitely room for improvement. This is the part you do not want to rush. It takes the meat from being side pork to bacon.
A good rule of thumb is to brine it for 2 days per inch of thickness.
*Notes: Some sites say to keep the pork in the brine for up to a week to 10 days. My suggestion is to experiment and see what works for you. We often will go 6 days before soaking.
Once the pork has been brined for the adequate period you can move to the next step.
Remove the cured pork bellies from the bags and rinse well under cold water. Now we want to soak the pork for at least an hour to 2 hours at the longest. A large container or the sink will work fine. Fill with cold water and pop in the belly. After the soak dry the pork with paper towels to remove all the moisture.
Place the pork, rind side down in a container and cover lightly with plastic wrap. Refrigerate the pork for 24 hours. This step is very important. During this stage the pork is forming pellicle, the proteins are forming a skin over the meat for which the smoke will adhere to. Do not skip this stage, it is what gives the pork belly the smoky bacon flavour.
Getting the smoker ready
Applewood is the preferred wood of choice in most of our smoking. If apple is not available cherry is the second choice. Use the kind that you like! We like the smaller wood chips and we do not wet the chips. We like a fast heavy smoke and from our experience wet chips take longer to get smoking at the level we want.
The liquid used in the smoker this time around was water. The smoker is always preheated, and the meat does not go into the smoker until there is smoke. We want the meat cooked with the heat of the smoke not the heat of the smoker.
While you are waiting for smoke, get the pork belly ready for the smoker.
Have the racks in the kitchen so you can quickly get the meat into the smoker with minimal smoke loss. You want the portions of belly to have space between them so they get smoke on the entire surface of each piece. Place the pork with the rind side on top.

Place the rack(s) into the smoker and turn down to maintain a temperature of 185 – 200 degrees. We replaced the wood chips once at the one-hour mark and smoked the pork for a total of 2 hours. When it was done the racks were pulled out of the smoker and placed on paper towels to cool completely.
Once cool the bacon was vacuum packed and placed in the fridge overnight to firm up and absorb the smoke. The longer you can hold off trying it the better the smoke flavour will be.
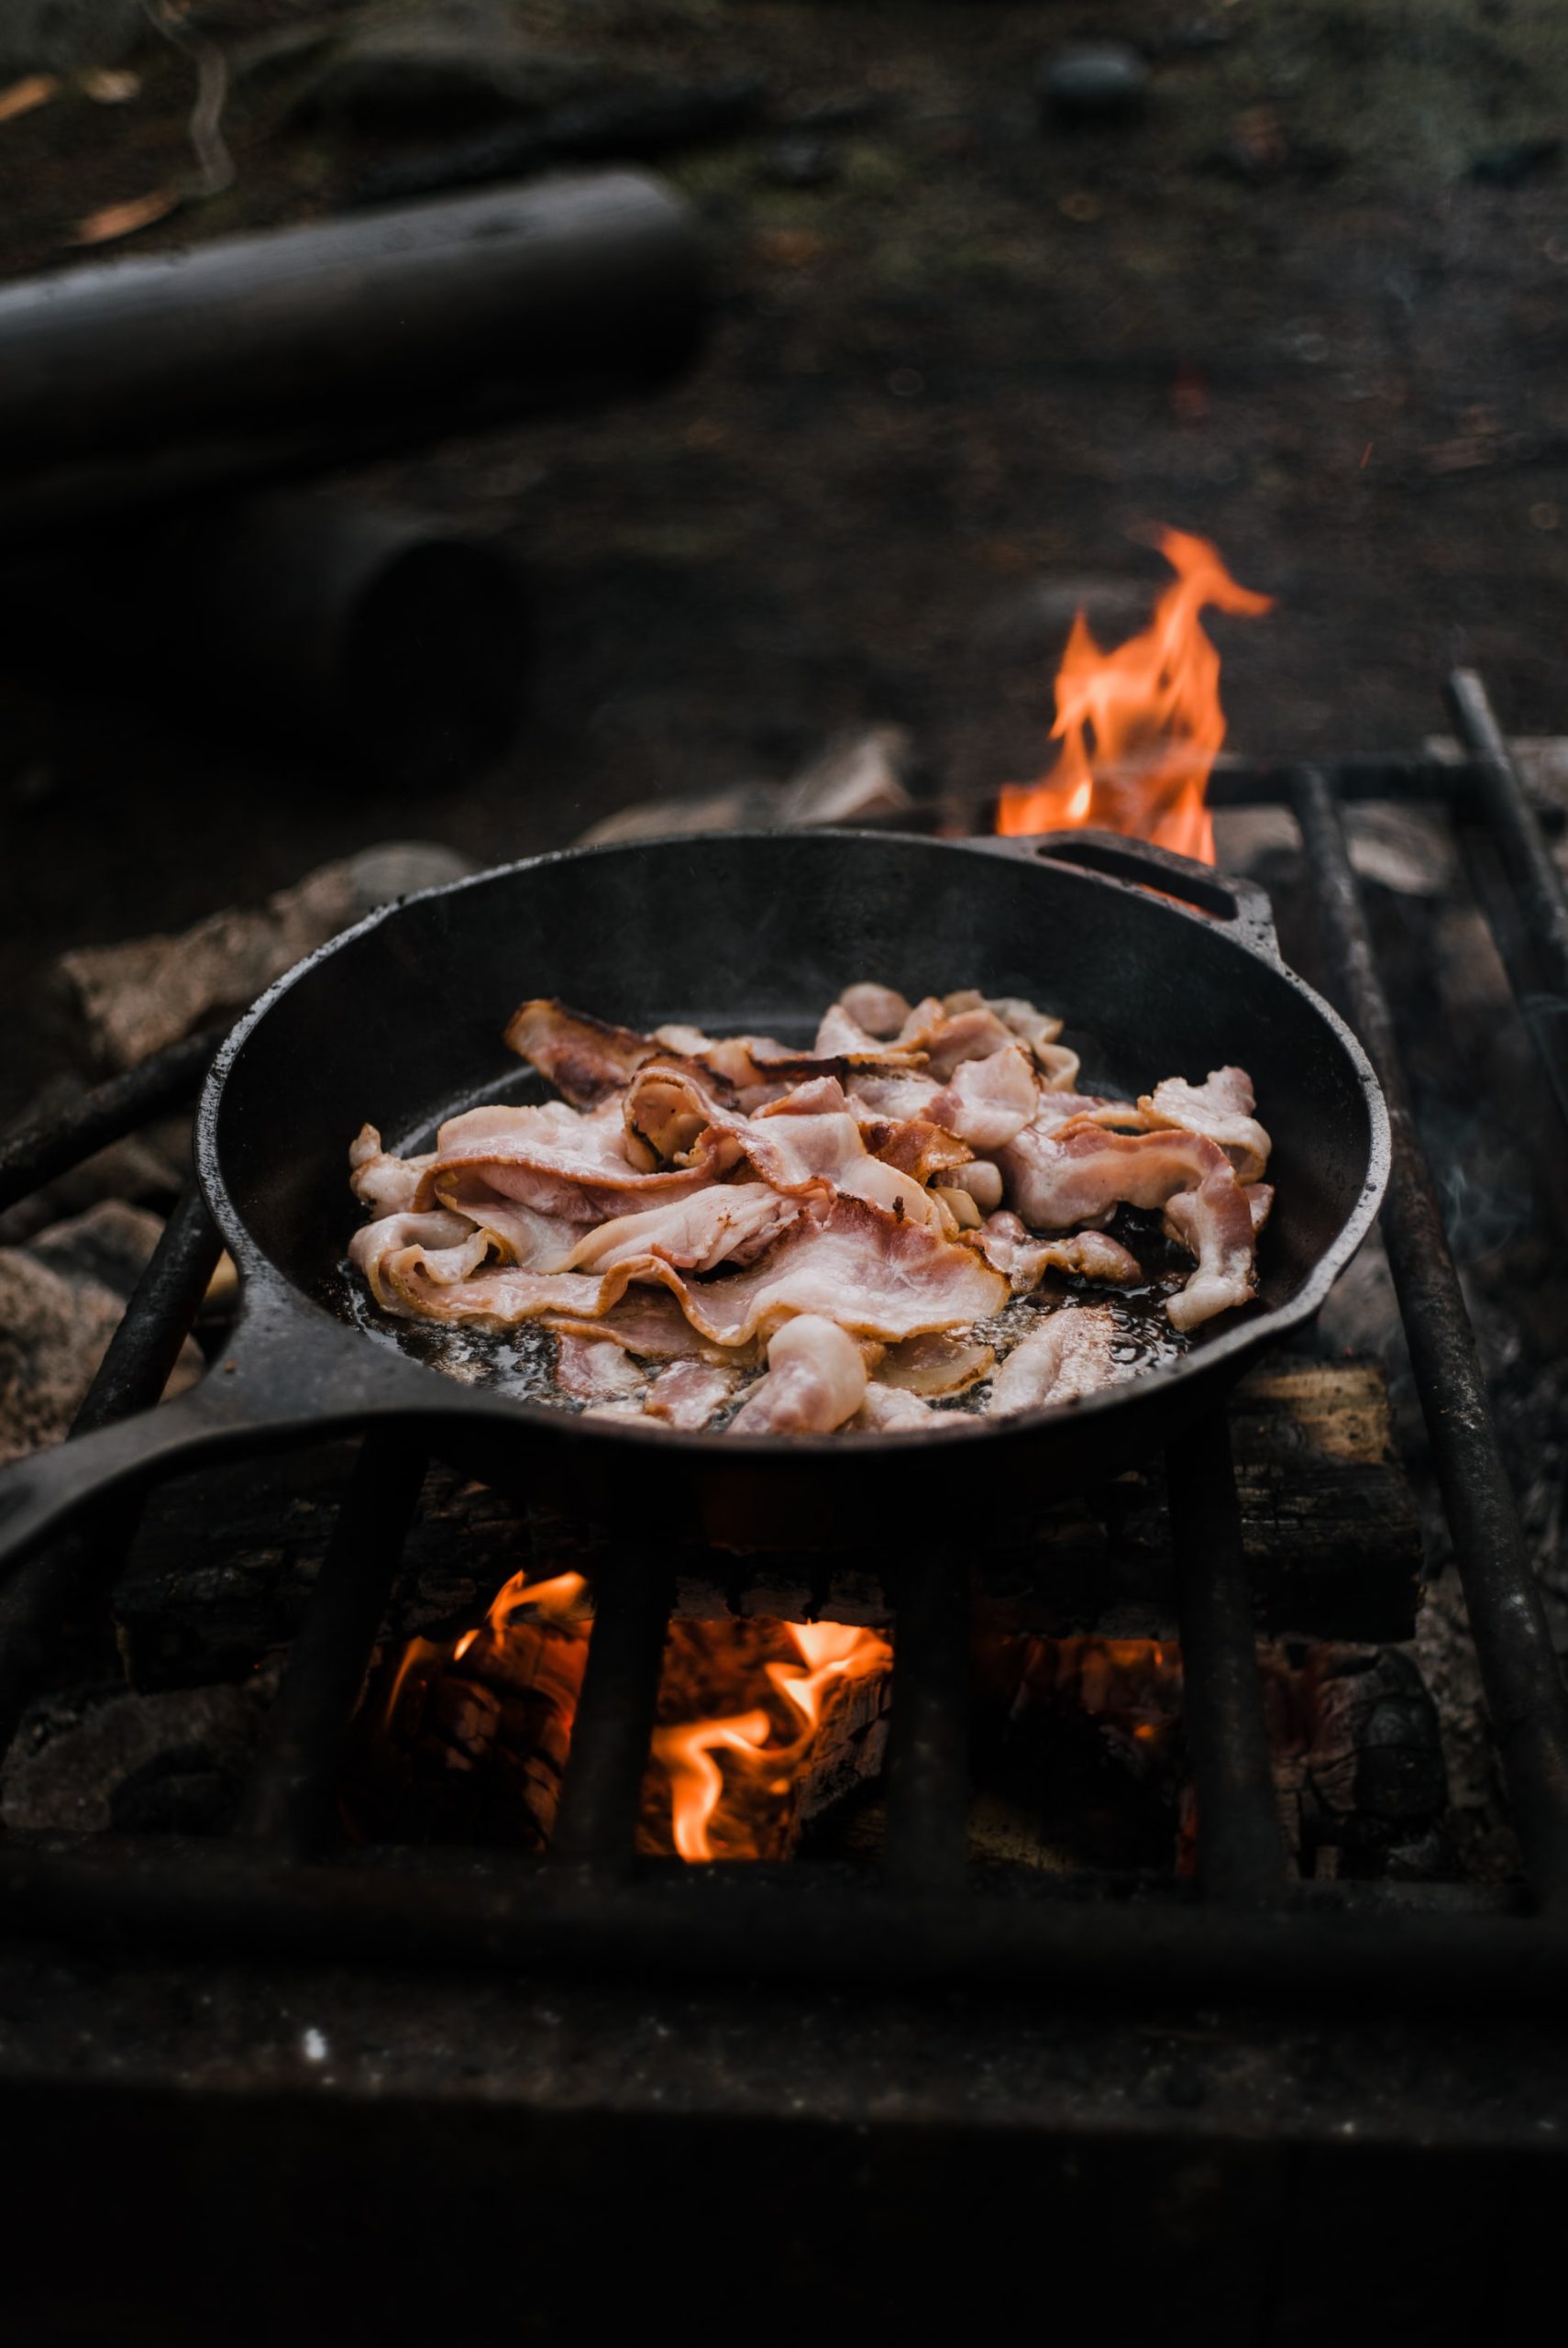
Remove the rind and slice to fry. Be sure to take note of the two bacon ends and save them for yourself. They are the smokiest most flavourful part of the bacon. If you sample a slice or two then go back to the saved bacon end you will taste the difference.
If you love bacon be sure to check out the steps to make Back Bacon. Pork loins can be found is most grocery stores and the finished product is incredible!


I’m impressed! No, I’m in awe! Your instructions are really clear. We have a new smoker just waiting to try some new things!
Hi Elaine!
It is so much better then store bought water filled bacon. Smoky with just the slightest touch of sweet. I can’t think of anything better for the first run of your new smoker!
This is great! My son-in-law has been making bacon. I’m so glad you shared the instructions. I really must try it!
Hi Cathy!
It takes a bit of time but it is worth it. The flavour and smokiness is like nothing you can find in store bought bacon.
Have a great weekend, and thanks for stopping by!
I’ve been following this project on your instagram. Those photos make me drool every time.
Question: What makes curing salt so different? Can you do the mix at home?
I need to make bacon, and this looks great. What a wonderful idea and I now have a project for my new smoker that needs inaugurating. Great job Redawna ?
Wow, this is so interesting! You are really ambitious – this sounds like it was completely worth it though, holy they look amazing!
This is really interesting! It must be so satisfying to make your own bacon. I’d love to give it a try sometime if I ever get a smoker. That bacon looks amazing!
Hi Ginni! I am so excited that you have a new smoker! The there is a whole world of flavour to discover! I have been smoking meats for over 10 years now and I still get excited. If you don’t try the bacon first may I suggest fish. It is quick and easy and is a great ingredient to lean about smoking with. Best of luck! And if you ever have any questions let me know.
Cristina! Next to smoking honey it is one of the easier smoked products I make. The smokiness in the bacon can not be matched by anything I have bought in the store. It tastes pretty amazing!
Thanks for stopping by!
Hey Bernice!
So curing salts usually contain sodium nitrite which serves to inhibit the growth of bacteria. I could not find just curing salt but with being in Calgary chances are you will have no problem locating some. It is usually pink and can be called pink salt. If you know any butchers I would start with them, if they don’t have some to sell you at least they may know where you can find it. Or if you have a store called Halford’s in Calgary, they have all sorts of meat processing goods!
Best of luck if you go for it!!! Any questions just ask.
Hi Megan!
It has been a very cool and tasty experiement for sure! I really do enjoy seeing what I can do with the smoker. Very glad to have tried making bacon, it has been fun.
Thanks for stopping by!