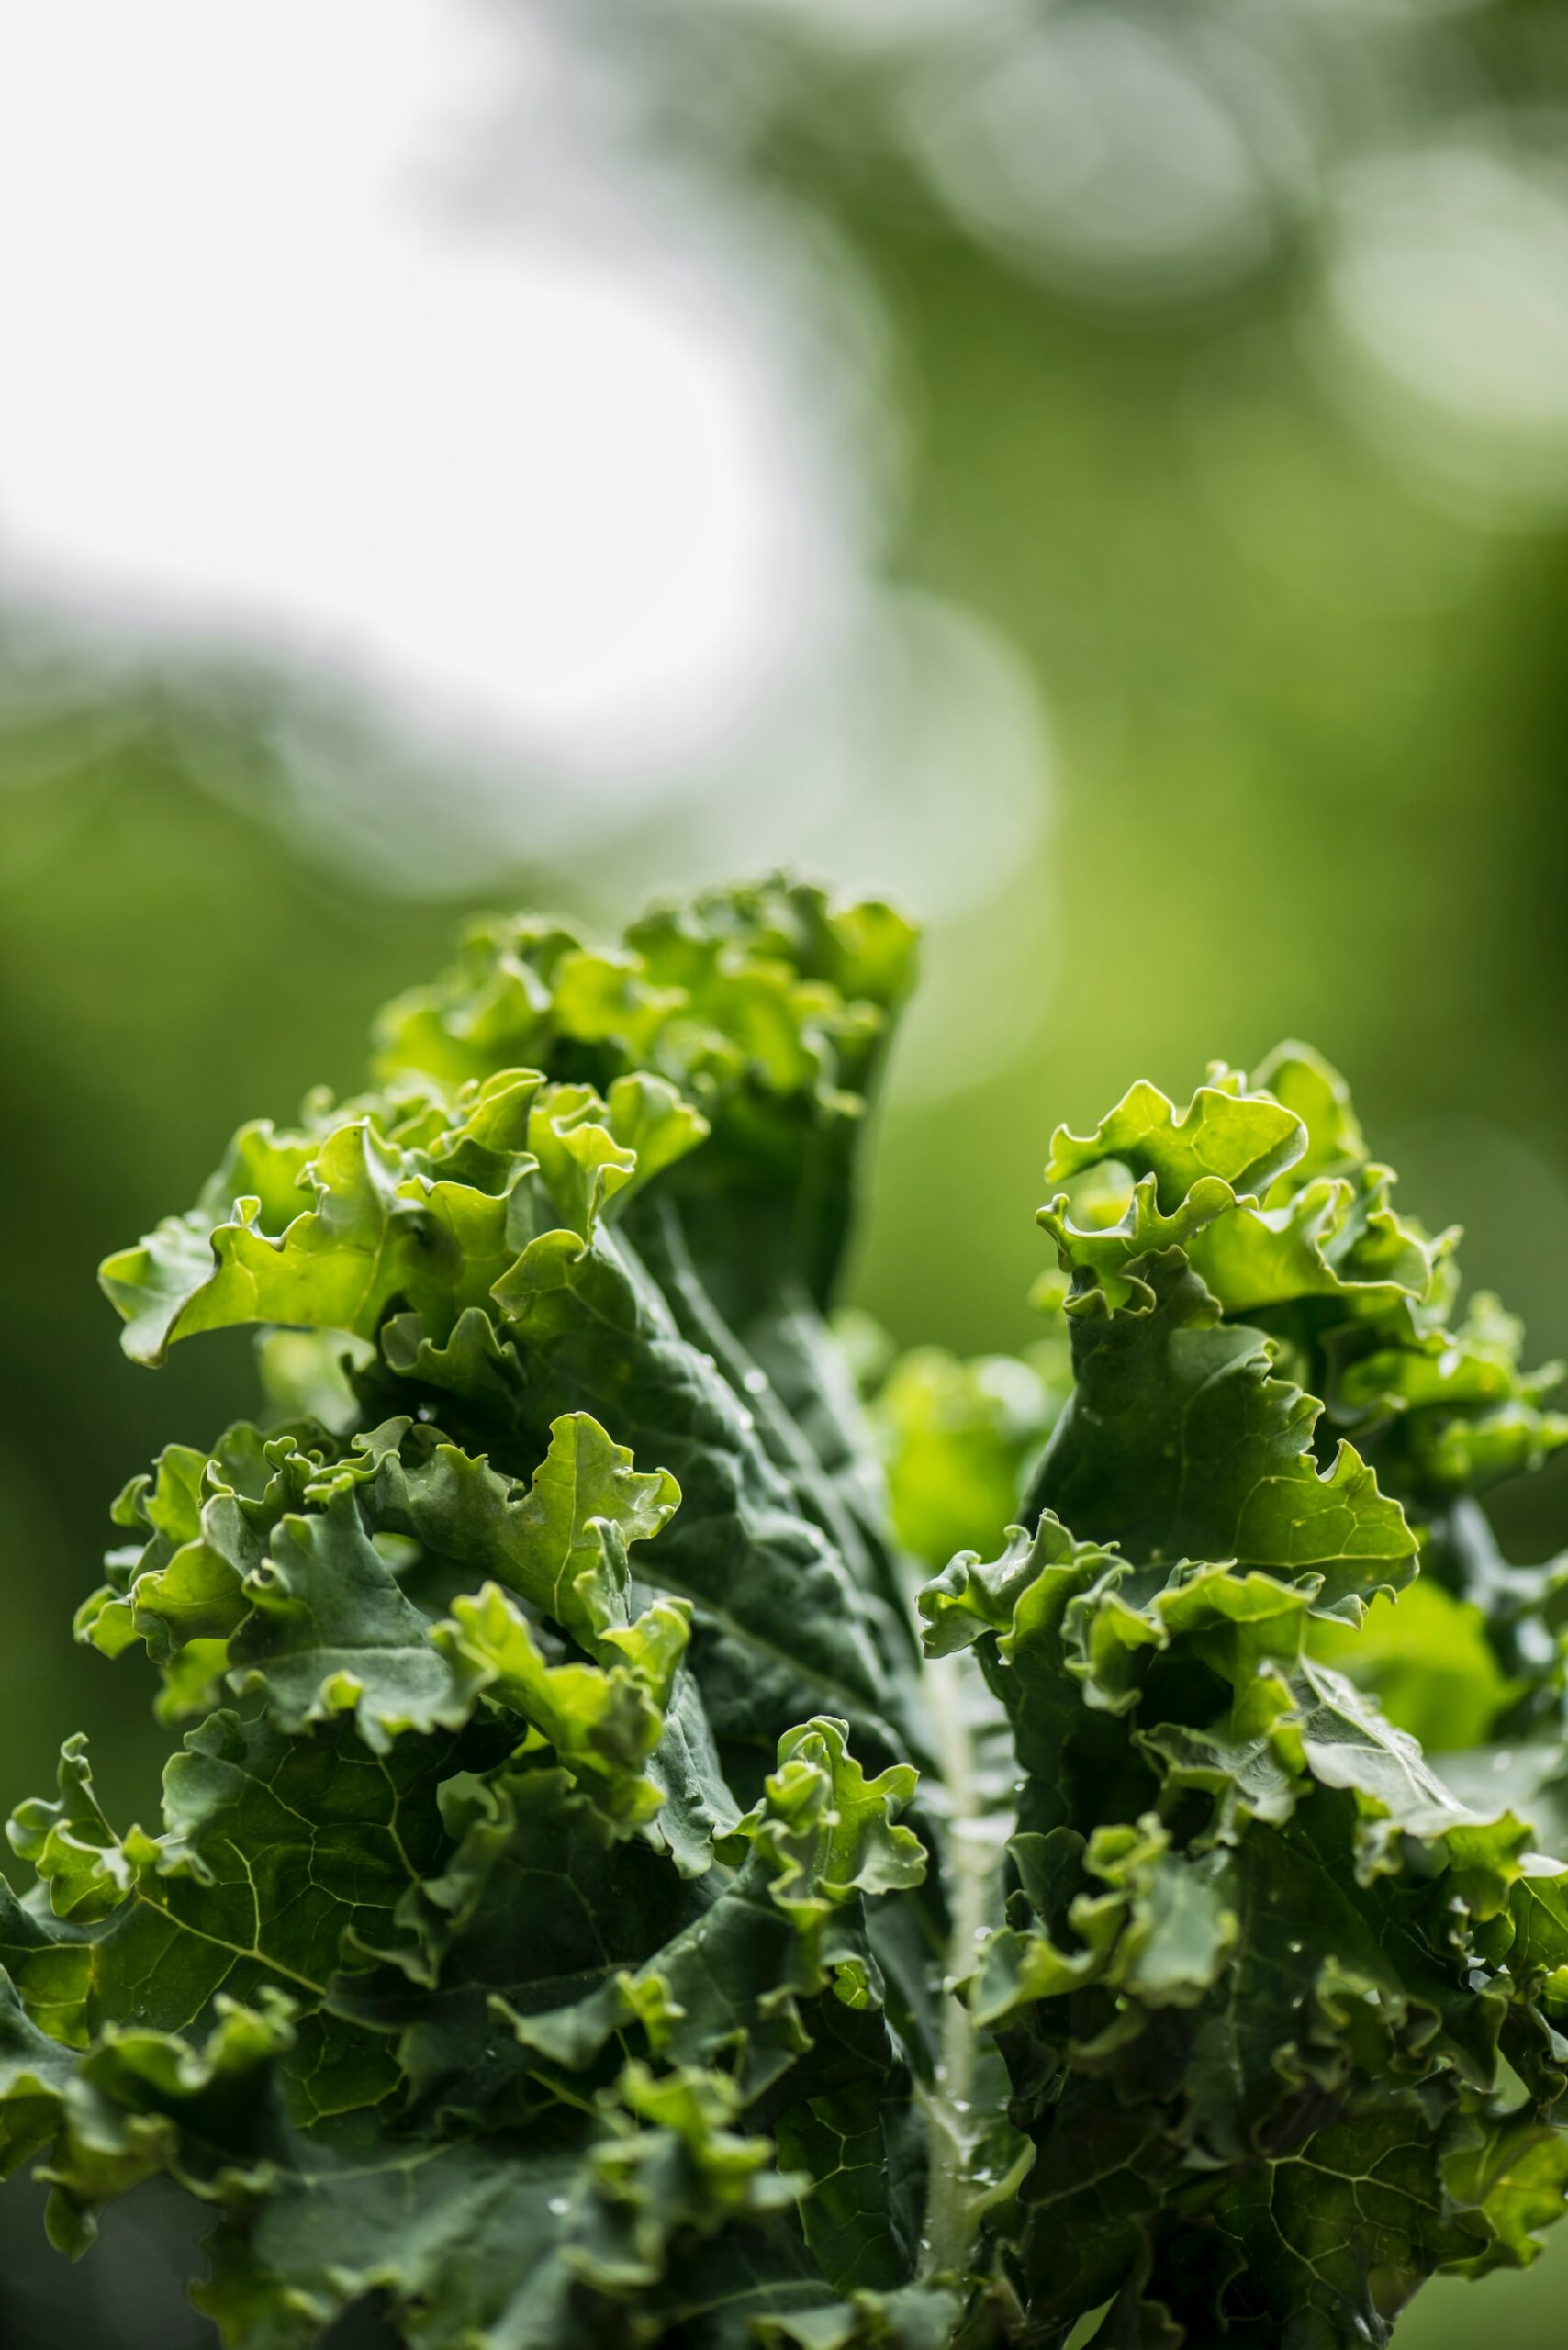
Kale is a cool weather crop that can be started early in the season. The cooler weather of spring and fall enhances the sweet nuttiness of the leaves.
It is a member of the brassica family like cauliflower, kohlrabi, cabbage, brussels sprouts and broccoli. Kale is cold tolerant to -6C.
It comes in various colours and has different leaf textures, be sure to plant an assortment
When Should We Start Kale Seeds
You can get an extra early start to the season; kale can be started indoors 3 – 5 weeks before the final frost. Fall planting is also possible, plant outdoors 8 weeks before the first frost of fall.
For indoor starts, plant 2 – 3 seeds in each cell at a depth of 1/2 inch. If you have grow lights place the trays under them. If you do not have lights, place the trays and a warm sunny location. Keep trays covered with lids until all seeds have germinated. The moisture and heat are needed for the seeds to germinate.
When seeds have germinated thin to the strongest plant in each cell when seedlings reach a height of an inch. Germination begins in 7- 10 days.
You can transplant indoor started kale into the garden as soon as the soil warms up.

Planting Kale Outdoors
Kale is versatile as it can be grown in the ground, in garden beds as well as well as in containers with good drainage. Full sun to partial shade is optimal, full shade is preferable in hotter locations. Kale does best grown in temperatures from 13C – 24C.
If you are container gardening, select containers that are at least 12 inches in depth and have drainage holes in the bottom. Use a lightweight potting mix with compost mixed in before planting.
For in ground planting, work the soil well adding amendments like compost, peat moss and sand if the soil is compact or slow draining. Space seeds apart 2 – 3 inches apart with rows spaced at least 18 inches apart. After they have sprouted, it is important to thin plants to 9 – 12 inches apart as kale needs room to grow.

How To Care For Kale
Kale needs a lot of water for good growth so expect to water weekly if rain is not in the forecast. Give the rows up to an inch and a half of water per week.
If you practice mulching do mulch the plants to retain moisture and restrict weed growth.
It is also a plant you want to feed regularly. Side dress the rows with compost monthly or feed the plants every third watering with fertilizer, a 20 20 20 formulation is a good option. Mix it according to the directions on the container.

Harvesting Kale
Kale is a cut and come again vegetable. That means you can remove leaves from the rooted plant and it will generate new leaf growth. Select the outermost leaves first, using scissors to cut at the base of the plant.
You can start harvesting the tender baby leaves for salads. The larger leaves have a tougher texture and are great for cooking.
Did you know? You can massage larger kale leaves to make them more tender. Give it a try with the larger leaves in the patch!

Storing Kale After Harvest
After you harvest the leaves, give them a good wash and allow them to dry on paper towel. You can store the leaves in a large food storage bag. You could also roll the paper towel that the leaves are on into a large roll. Place into a large plastic container with a lid and store in the coolest part of the fridge. The leaves will stay fresh for up to a week.

Can You Eat Ornamental Kale
You may be wondering if you can eat those beautiful ornamental kale plants often seen as accent plants in flower beds. You can, though that type of kale has been bred for it’s looks, not for flavour.
Using Kale In The Kitchen
When young, kale can be great as a baby green in salads. As it ages it starts to get a bit more tough. Those leaves are best used for cooking. As mentioned above, give the larger leaves a good massage before using and always cut out the center stem.
Kale leaves are also great for juicing. They have iron, calcium, fiber as well as vitamins C, K and A.
This post was written for and first published on Earth, Food and Fire.


