With a bit of planning and an early start we talk about how to grow melons in your garden.
Grow Your Own Food is an information series on Gardening in Canada that covers every aspect of growing your own food at home. I help you every step of the way so that you can have the garden you dream of.
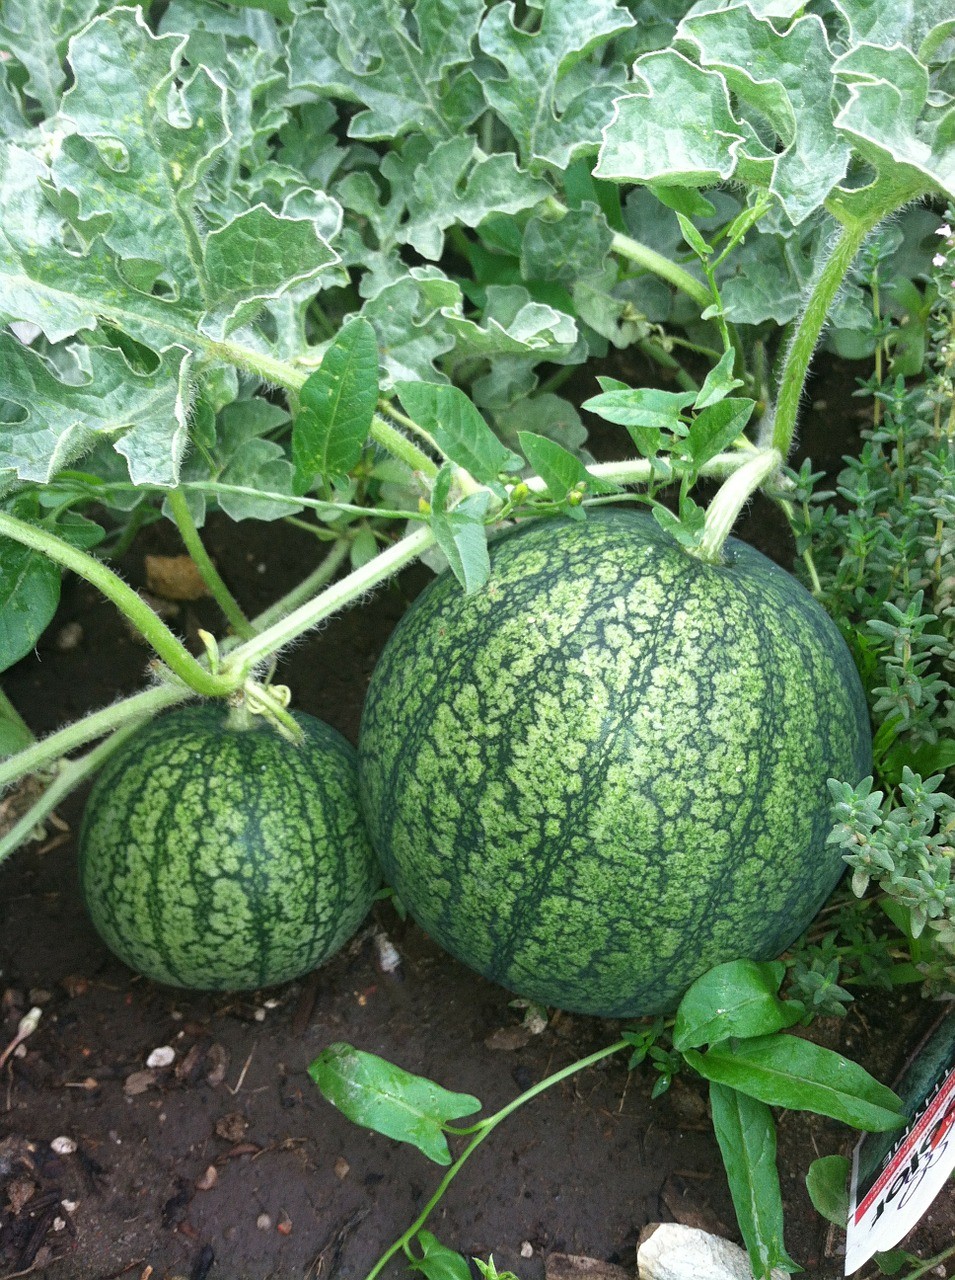
How to Grow Melons in Canada
 As a young gardener I was open to trying to grow most everything at least once and thought it would be cool to grow watermelon. What started as a cool experiment in my loft finished with the most vibrant juicy red watermelon we had ever seen. With a plan and a few helpful tips, you can be growing melons in your Canadian garden.
How Do You Choose the Right Melons to Grow?
When shopping in store or online for melon seeds it is important to select those with shorter growing times. Those who garden on the west coast have a bit longer of a growing season so your days to maturity can be a long as 120 days. For those growing in shorter season growing areas look for seeds with a maturity date of 75 – 80 days. There are many varieties to choose from so be adventurous!
Where Do Melons Grow Best?
Garden placement for all melons is important, they like it hot so south facing full sun areas are perfect. To give your melons an extra boost it is highly recommended that you use black plastic or thick layers of garden fabric in the spot you are going to be growing.
There are a few reasons we do this:
- Number one is to assure that the soil is warm for our young seedlings to perform their best. The black material not only attracts heat it traps it in the ground. This helps our seedlings deal with transplant shock but also facilitates rapid growth.
- It is a barrier to weeds which is very important in vine grown crops. We do not want the plants competing for water or nutrients with weeds.
- It also keeps the melons off the soil, which is very important, melons in contact with soil will rot.
Keeping The Melons Warm
Another goal when growing melons is to keep the plants as warm as possible up until the heat of the summer months. This is easy to achieve with row covers and gives your melon vines the best chance at spectacular growth.
There are many things you can use to create the hoop part of this application. Picture a greenhouse without the plastic cover, our goal is to create a frame that we can drape light garden fabric over. You can use sturdy metal wire, flexible pvc pipe, row cover kits from the garden center or just about anything that you can bend into a half circle and push into the ground on each side of the row.
The material we use as a row cover is a spun material that allows sun, air and some water to penetrate. This material can be purchased in any garden center by the roll. Be sure to select one wide enough to cover your row from edge to edge.
How Do You Start Growing Melons from Seed?
Melons do better when they are placed into the garden as seedlings. Start melon seeds in pots in the house 2 weeks before your last frost date.
To start melon seeds indoor, I like to use containers that are a few inches wide. You can use any kind of container for this, including containers from purchased plants from last season to solo cups with a few holes cut in the bottom for drainage. They are only going to be in these containers for a few weeks so do not spend a lot of money on this step.
Place the seeds at the depth recommended on the seed packaging, keep moist and place someplace warm to help with germination.

How Do You Prep the Spot for Growing Melons?
While we wait for seed germination and start of plant life, we need to prep the growing spot. The goal is to be sure the soil is warmed and ready to support our seedlings.
Work the soil well and add amendments such as compost and a bit of peat moss. As we will be covering the ground with material it is the only opportunity to prepare the growing spots.
Once the ground is ready, we lay out the plastic or fabric in the rows. I prefer to use landscape fabric as it is easy to work with and does allow water to penetrate through. If using plastic be sure to cut slits into it at intervals so that water will go through to the roots.
You have a few options to secure the material down once you have everything in place. You can use inexpensive spikes (think large nails), rocks or even dirt along the edges of the material to keep it in place.
When Do You Move Melon Seedlings Outdoors?
Once all risk of frost has past and your seedlings have their second set of leaves it is time to move them out to the garden. Space them out at the distance recommended on the seed packaging. Be sure to have a sharp knife on hand to cut openings into the ground cover material to place the seedlings. Water the seedlings well.
Now it is time to get the row covers in place. Space the hoops a few feet apart, depending on how long your rows are. Be sure to push the ends into the ground far enough that they will be secure. You will need a second set of hands to place the row covers over the garden. You will also need something to secure the row cover to the ground. I like to use large rocks or bricks for this. The material is delicate, pinning it to the ground using spikes is not recommended. Hard winds will tear the material.
Air Flow Is Important when Growing Melons!
It is a good idea to leave the ends of the tunnels open for air flow though it is okay to completely enclose the ends early in the season to contain heat. Once daytime temperatures are constantly over 20C, and the plants have begun flowering remove the row coverings. This step is important for pollination.
It is a good idea to allow the hoops to remain in place as we may need to cover the plants again closer to fall or if there is a chance of frost. If the melons are not ready to be harvested cover the rows with the row cover to extend the season.
Water well through the summer being sure to try and not get too much water on the leaves of the plants. This help to avoid powdery mildew which develops later in the season. You will know if it is affecting your plants if a white powder appears on the leaves. If you do discover that the plants do have mildew, you can treat with a fungicide following the instructions on the container.
When Is It Time to Harvest Melon?
Never harvest melons early, unlike some fruit melons will not ripen any further once harvested.
Watermelon: The easiest way to tell if watermelons are ready to be harvested is to look at the tendril nearest the stem end. When they start to turn brown it is time to start harvesting. Once harvested make sure the melons are dry and store in a cool place. They will last for many weeks when stored properly.
Cantaloupe: Cantaloupe once ripe will start to pull away from the vine. Be sure to pick before they completely release from the plants. Cantaloupe does not have a long storage life, enjoy within a week of harvest. If you have a bumper crop chop up the fruit and freeze.
Related posts:
 Grow Room 101. Building An Indoor Grow Room for Cannabis and Vegetables.
 Grades of Beef In Canada
 Recipes To Riches. Canada’s Top 5!
 The Food Bloggers of Canada Conference. The journey there.
The First ever Food Bloggers of Canada Conference. My take.
The Food Bloggers of Canada Conference. The journey there.
The First ever Food Bloggers of Canada Conference. My take.
 How to Grow Asparagus
 How To Grow Onions
 How to Grow Brussels Sprouts