Pruning and Espaliering fruit trees is easy to do with a bit of knowledge and the proper tools.
Growing your own food is one of the most empowering things a person can do. To step out into your yard and harvest fresh vegetables for many months of the year is very rewarding. I know it is something that everyone who gardens appreciates and values. It is an investment of time and effort that pays us back greatly.

How Do I Prune Fruit Trees?
Pruning in the garden is something every gardener should learn and do on a regular basis. It is another step in maintaining our gardens and creates numerous benefits.
We prune to:
- control plant growth
- eliminate disease
- remove dead and damaged branches
- create and maintain shape
- stimulate growth
- encourage more flowering, resulting in larger crops
- increase air circulation within the plant
Pruning and Espaliering Tools
You only need a few tools for pruning.
- For simple jobs a nice pair of hand pruners are perfect. Do invest in a good quality pair, you get what you pay for and the more you pay the easier the task as they will perform well!
- For larger jobs you need loppers, they look like large hand operated scissors.
- For big tasks such as mature trees you will need hand saws.
- If you have a vast number of hedges or shrubs electric hedge trimmers are a must. Loppers will work in smaller situations.
Be sure to keep all pruning tools sharp. Like in the kitchen, a dull knife makes for hard work, the same goes for your outdoor cutting tools. To prevent the spread of disease, clean the blades of your tools with bleach and dry well after each use to prevent rust.
When To Prune Fruit Trees
Shrubs can be pruned in early to late spring. If your shrub or hedge flowers, wait until after blooming to prune. Depending on the size of shrub you want to use large pruning shears or electric hedge trimmers. Usually pruned to maintain shape we also prune to encourage growth inside the shrub.
Roses should be pruned in late winter or early spring. Remove all dead canes and trim the remaining ones down to healthy wood. You can treat raspberry canes in the same manner. New canes should not be cut back until July.
Trees should also be pruned to maintain, health and shape throughout their life. If you are going to do pruning on a mature tree be sure to do some research for the particular tree you are working with. Larger branches are treated differently to minimize damage to the tree.
Different trees should be pruned at different points through the year and of course for various reasons. With the right information and the proper tools pruning will be a task you will look forward to and is one of the first things to do when the garden season starts.
Growing Fruit Trees
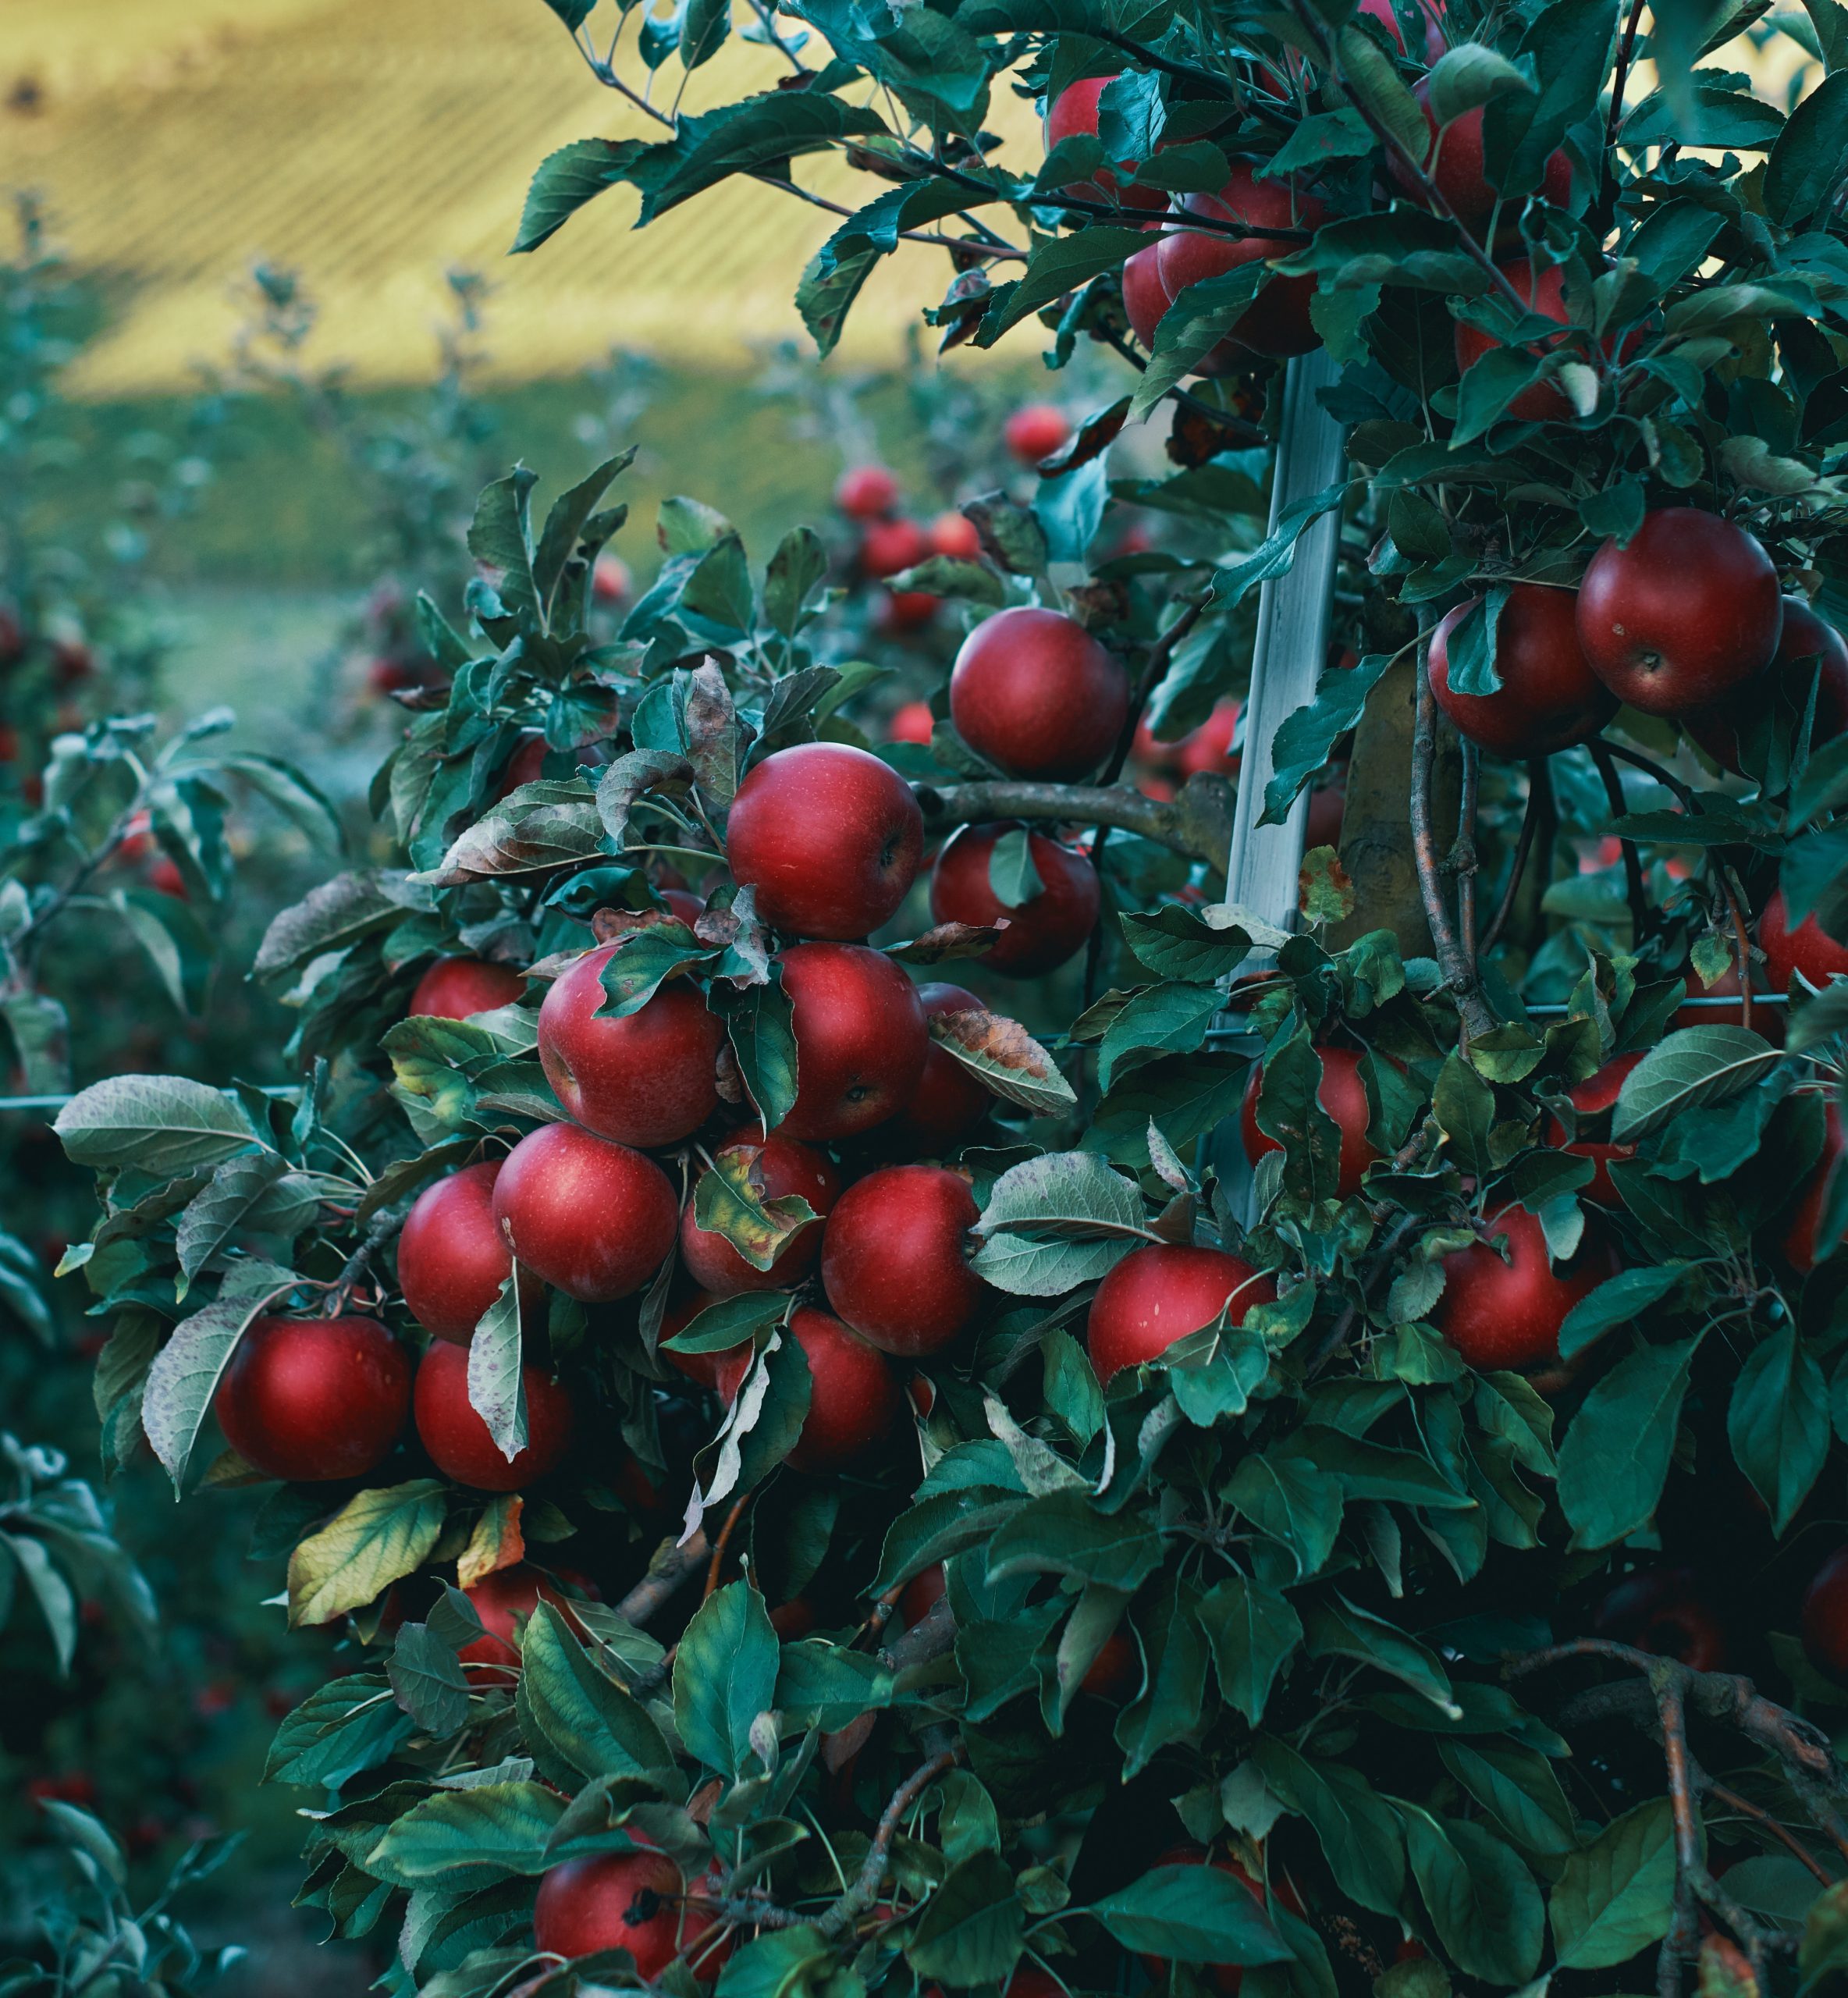
Another investment in time and effort is growing fruit trees. It takes a few years before you can harvest fruit but the feeling of picking fresh apples or pears grown in your own yard takes that empowerment and joy to a new level.
You can go pick out some apple trees, bring them home and simply plant them. And they will grow and do great. But what if with a bit of knowledge and a plan you can create stunning structures with your fruit trees.
Pruning and Espaliering Fruit Trees
The practice of Espaliering and it is when we control the growth of fruit trees by pruning and then training them through tying the branches to frames, fences, trellises or walls as they grow. It is a very impressive way to create some beautiful living designs in your garden.
It is a great option if you are growing in limited space. Even fences can be created when growing many trees. If you Google Espaliered fruit trees you will see some very impressive designs. The most common form of espaliering you may recognize is from vineyards as grapes have been grown this way for 100’s of years.

Espalier Designs
There are many designs you can create when Espaliering trees. We will take a look at a few of the more common simpler designs.
The Horizontal Cordon
In this design we are training the trees to grow horizontally and is the way grapes are trained to grown in vineyards. The shape is that of an upper-case letter T in the first year. In the second year we train the tree to produce a second T. And again, we train it in the third year to form a third T. This is called a triple cordon.
The Candelabra
In this design we are training the tree to grow similar to the horizontal cordon with the difference that we will be training the end of the branches to stop growing horizontally at a certain point and training them to then grow vertically to form the candelabra shape.
Belgian Fence
This design requires numerous trees to form the fence. The trees are pruned into the shape of a Y and the branches Criss cross over each other as they form a lattice design. With a large number of trees, you can effectively create a fence.
The Fan
As the name states, this design creates a traditional fan shape.

Tools Needed for Pruning and Espaliering Fruit Trees
No matter which designs you want to create there are some basic tools we need for espaliering.
- apple or pear tree
- shovel
- compost
- pruning shears
- ties, you can use anything to tie the branches to the wires, ribbon, Velcro plant ties, cut up nylons, etc
- 12-gauge wire
- wire cutters
- drill
- eye bolts also called eyelets (screws with closed loops on the end)
- measuring tape
- pencil or chalk
Planting the Tree
Choose a sunny location for your planting spot, you have some options when it comes to support for your espalier design. You can plant against a wall, a fence, well supported lattice, or freestanding posts with the wires running horizontally between them.
You will need to dig the hole twice as wide as the root ball but only to the same depth as the container. The top of the soil has to be the same as the level of the soil in the ground. Add some compost to the bottom of the hole and place the root ball. Fill the hole with soil tamping well to ensure there are no voids in the outside edge of planting hole, water well.

Create the design
We will use the eyelets and wire to create the design on our support. Using chalk draw the shape you want to create on the surface of the wall, trellis or fence where tree will be growing. It will help us know where we want to place the eyelets. This is where you get to design the future shape of your tree. Though we talk about some of the more traditional forms, you can really explore your creativity and create any number of designs.
Visualize how you want the tree to look 5 years down the road and place the eyelets accordingly, the wire is your form of the design. Predrill the holes where we will screw in the eyelets, then simply run the wire through each loop to create the design. Once the wires are run, we tie the branches of the tree to these wires. Gently tie the branches to the wires and prune any stray branches they do not fit into the shape. As the tree grows, we will continue to tie the branches to the wires and prune out any that do not fit into the design.
Pruning and Espaliering Fruit Trees
Trees
We will be doing regular pruning a few times during the season. We need to remove any vertical branches and maintain the shape of the espalier design.
In the second year it is advisable to remove the fruit in the second year as to give all the energy into the young growing tree. Continue to tie the branches to the guide wires and pruning where necessary. In the third year you can start to harvest the fruit from your tree.
Depending on how large you want your espaliered tree to be you can maintain its shape by yearly pruning. You are only limited by space in which you are growing.
Related posts:
 Angel Academy Festival of Trees Grande Prairie 2012
 Sugar Plums Festival of Trees 2010
 The Christmas Congregation Festival of Trees Edmonton
 Lake Fever Festival of Trees Barrhead 2013
 Gingerbread Dreams Festival Of Trees Grande Prairie 2006
 The Off Season Festival of Trees Grande Prairie 2008
 Midnight Mass Festival of Trees Grande Prairie 2011
 Not A Creature Was Stirring Festival of Trees Edmonton 2019