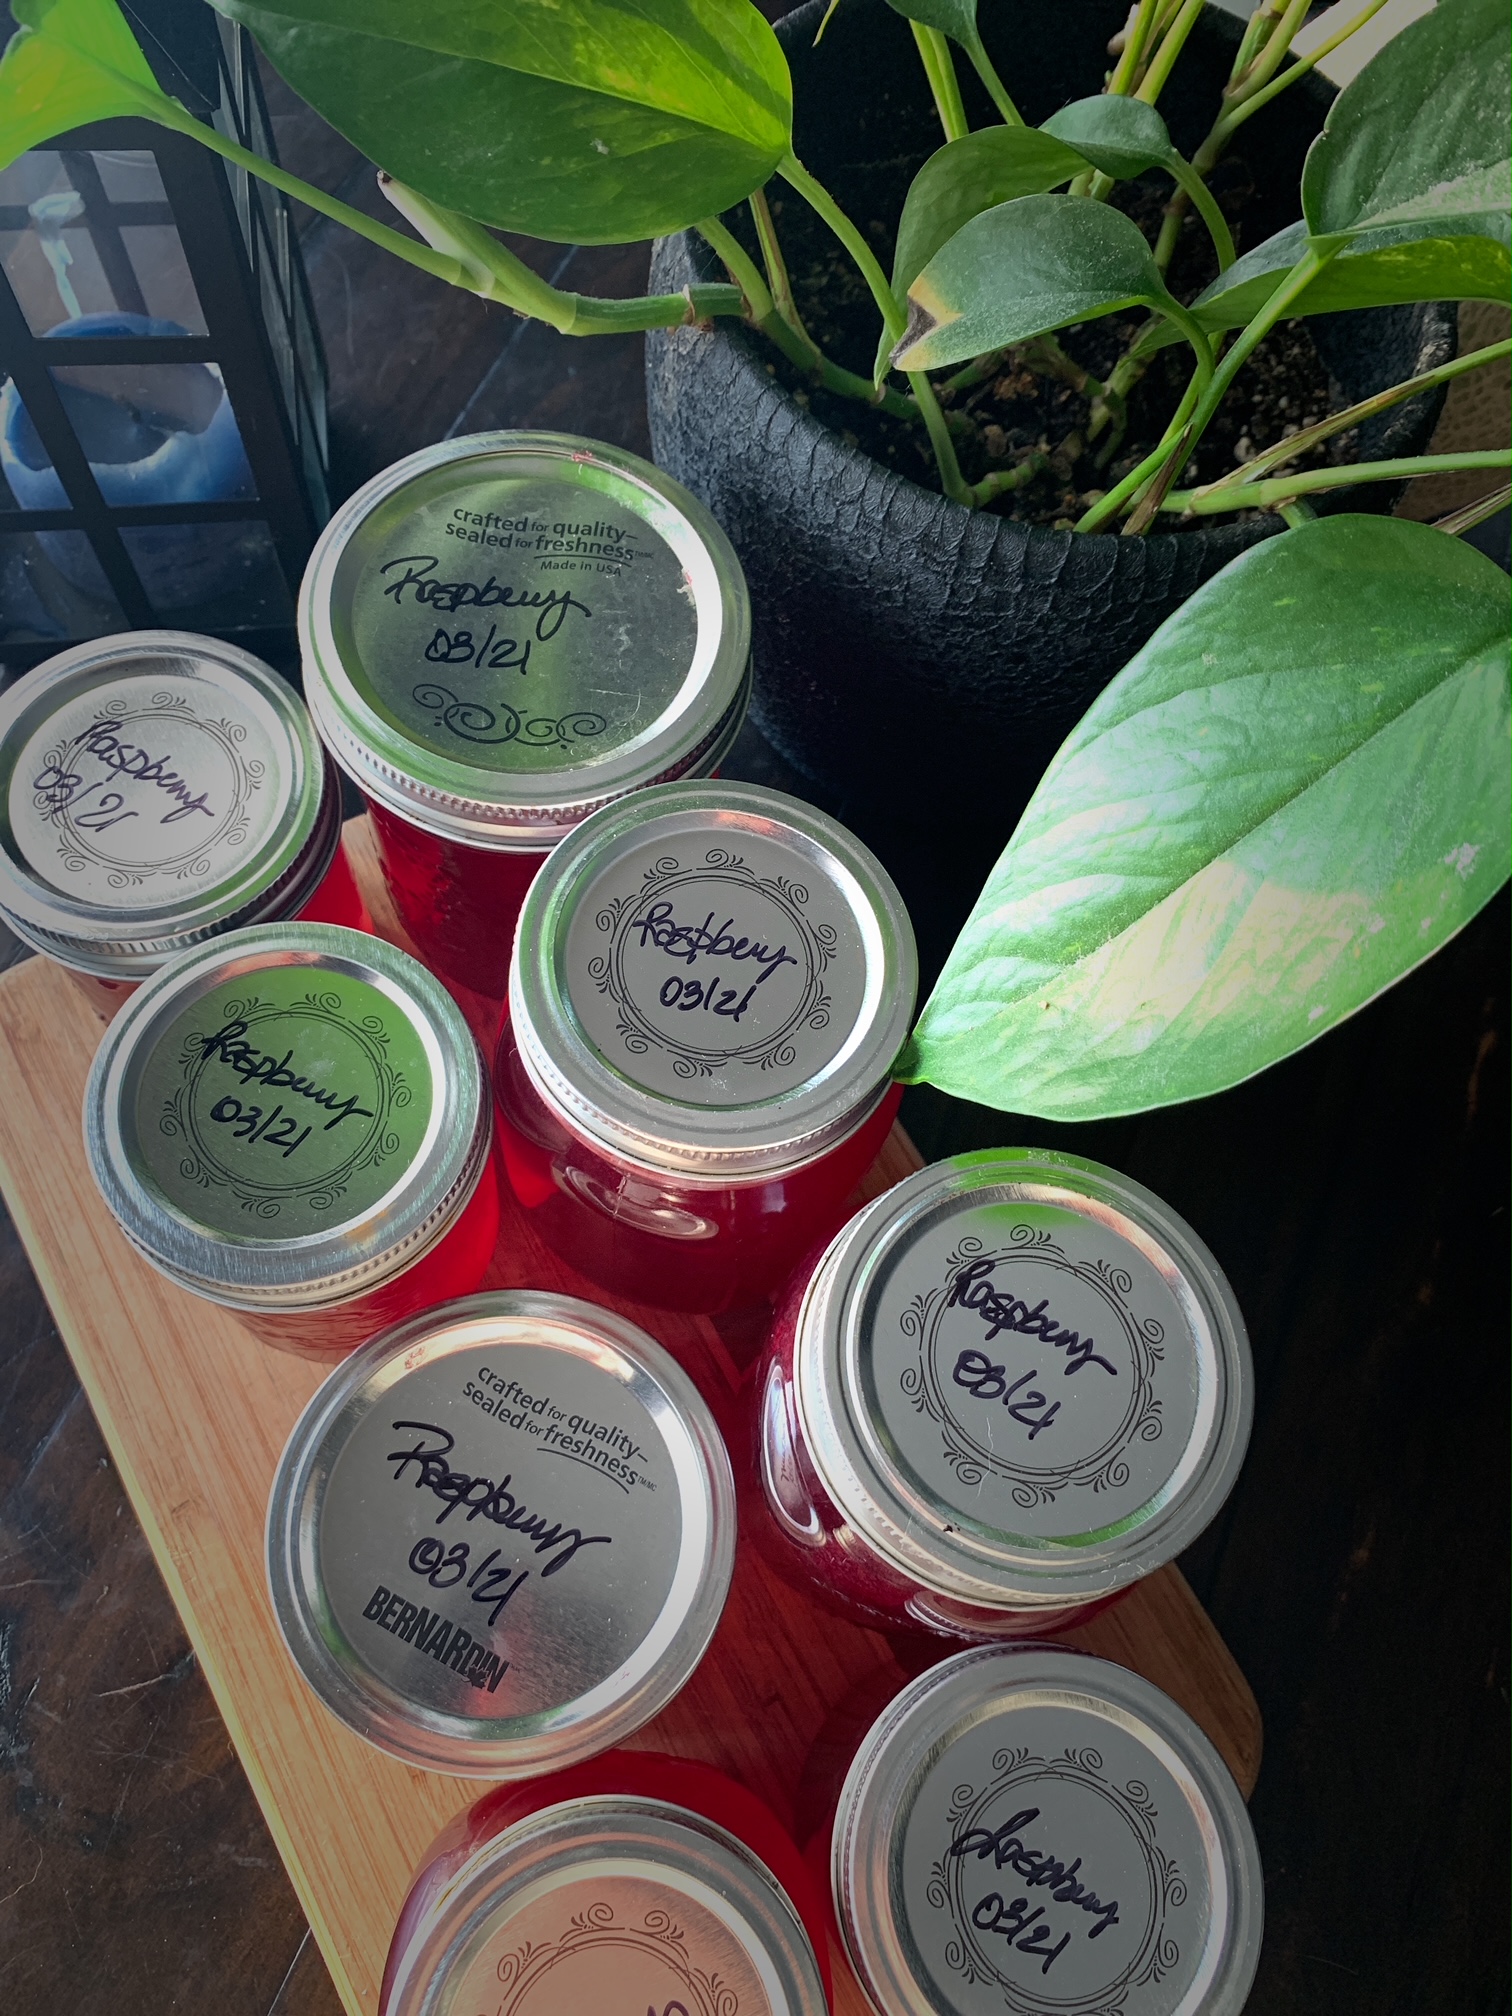
The stunning jewel tones of this Raspberry Jelly is the perfect way to showcase this beautiful berry.
Growing Raspberries
2020 was an incredible growing season in the Nutmeg Disrupted gardens. I am blessed with a beautiful raspberry patch that really took of last season. After a hard trim and a deep clean of the patch they produced an incredible harvest of berries.
There is a post dedicated to on How To Grow Raspberries if you are curious as to how to get started, or have a patch that needs some TLC.
A Taste of My Childhood
Raspberries are a flavour that I grew up with and brings back a flood of memories. My Gido had an exceptional patch out at the farm. It was two rows which spanned at least 60 feet, maybe more. Being the oldest grandchild, I am grateful for the many hours we spent together! I have such great memories of being out there with him picking what had to be buckets full.
And that was just the patch at the farm!

So Many Seeds
If you have ever made anything with raspberries one thing becomes apparent rather quickly, they have a lot of seeds. It can take a lot of work sieving the berries for jam. If you don’t you will find your jam quite seedy, almost gritty.
Jelly is a great option for when you don’t want to do the work. The finished product is a stunning jewel coloured jelly that will make you wonder if you’d ever do the work of raspberry jam ever again.

Juicing Raspberries
Place the berries in a large pot. Using a potato masher crush the berries to start extracting the juice. If using frozen berries, allow to thaw for 30 minutes. After 30 minutes heat the pot on low heat, stir the berries and crush them as they continue to thaw.
Turn off heat once fully crushed. Line 2 large colanders with cheese cloth. Place the colanders over large catch basins, bowls or pots work well. Allow the berries to drip freely, empty the collected juice into large jars and store in the fridge.
To get the very most juice from your berries, after most of the heavy dripping has stopped, gather the cheesecloth into a bundle at tie closed with butcher string. Suspend the berry bundles from a cupboard door handle over night to allow gravity to work on extracting as much juice as possible.
If you want to make a beautifully clear jelly, refrain from squeezing the bundles, when squeezed the juice will produce a cloudier jelly.
You can add up to a half cup of water if you are a touch short on juice.
If you find you have a surplus of juice, bottle and refrigerate it for a raspberry curd that is as incredible as it sounds! Look for that recipe in the next week.
Pectin Options
I will always reach for Certo Powdered Pectin. Every single time I have ever had a jam or jelly recipe fail was when I used liquid pectin.
Butter in a Jelly Recipe?
A trick I learnt when I was a teenager watching and learning about making jelly. They swore by putting a tablespoon of butter in the jelly mixture after the addition of sugar made the boil on the jelly not create that bubbly foamy stuff that would form on the surface of the jelly.
It really works. It cuts the bubbly scum (for lack of a better word) down to almost zero. I can skim my jelly in 10 seconds now with just a few teaspoons.

- 4 cups of raspberry juice
- 5½ sugar
- 1 package of pectin, I prefer powdered Certo
- 1 tablespoon of butter - optional
- Combine the raspberry juice and pectin in a deep pot, stirring well to dissolve the power.
- Over medium high heat bring the mixture to a boil.
- Once boiling add the sugar.
- Stir until the sugar is dissolved completely.
- Add the butter.
- Bring the mixture to a full rolling boil.
- Boil for one minite.
- Remove from heat.
- Skim if needed.
- Using a ladle fill the hot jars with jelly.
- Wipe the rims of the jars with a clean hot cloth.
- Top with new snap lids and add a ring, turning only until finger tight.
- Allow to cool undisturbed for 24 hours.
- As the jars cool you will hear the lids pop when they are completely sealed.
- Store any unseal jars in the fridge and use first.
- Give the jars a wipe and store in a dark cool place.

Proper Canning Tools and Practices
As with any canning job, your jars should be clean and sterilized. For this recipe they need to be hot for the filling process. I keep my jars either in a large canner with hot water or in the oven. Because we are handling very hot glass, I always suggest getting a pair of canning tongs. They make all the difference in the world when canning and take a hot job and make it easy.
I also like to use a jar funnel. It fits perfectly in the opening of the jar and makes for nice clean filling.
Be sure to not move the jars around much after filling. Once the bands are on, set them on the counter where they can sit, undisturbed for up to 24 hours. They should seal within a few hours.

If your jelly does not set, it can be reprocessed using the instructions that where included with the pectin you used. Alternately, if the jars are sealed but the jelly did not set, mark them as syrup and call it a day!
If you love raspberries as much as we do be sure to check out this recipe for Raspberry Curd, it turned out to be incredible!


